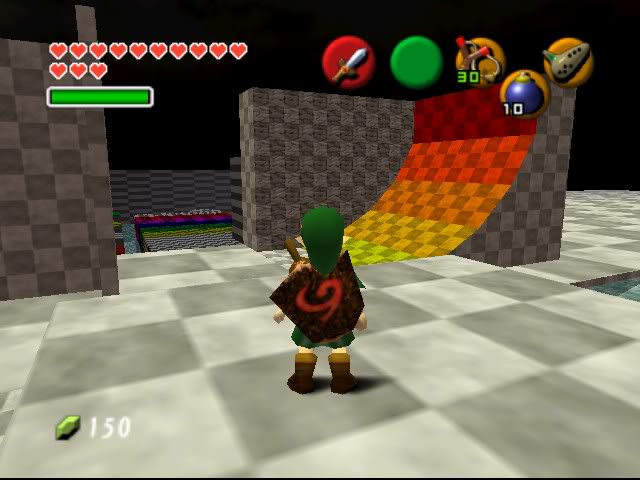
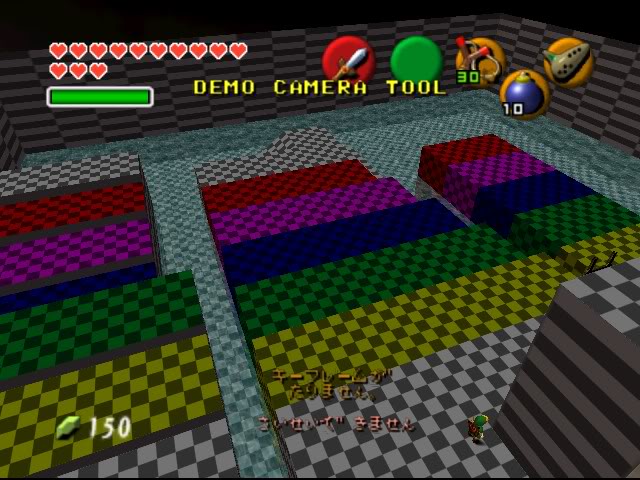
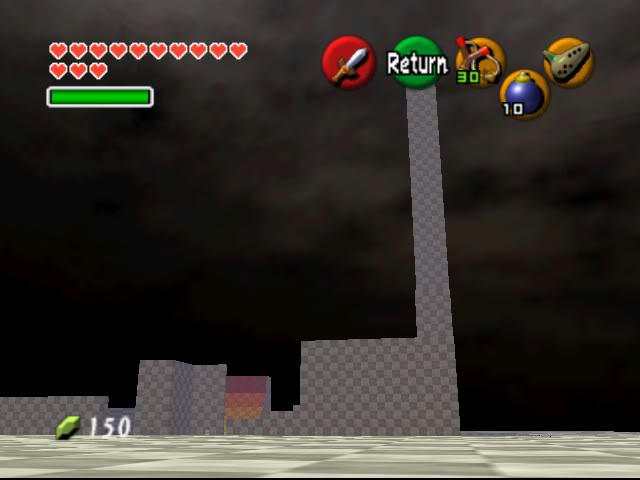
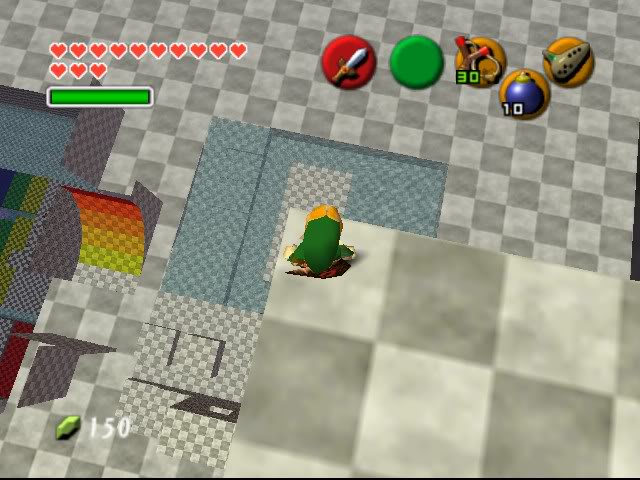
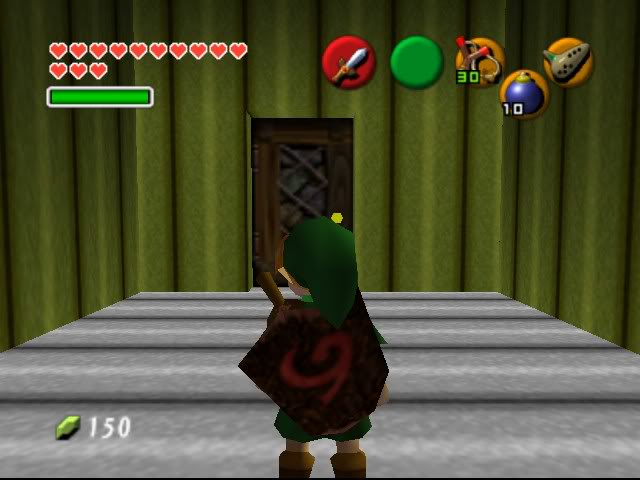
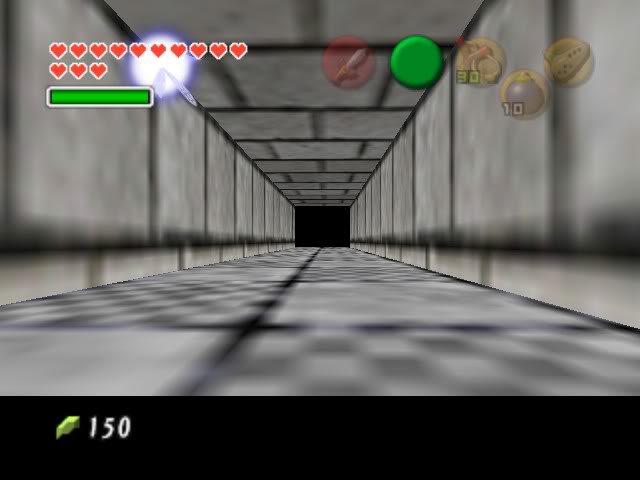
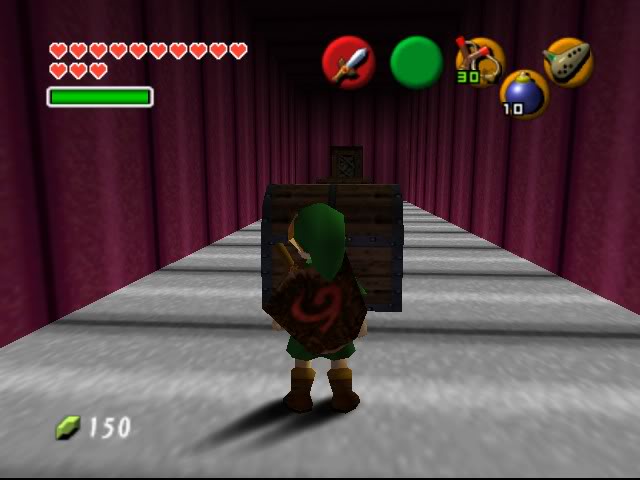
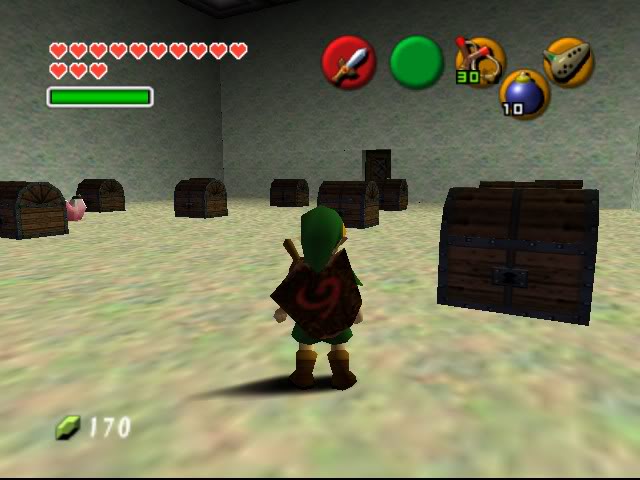
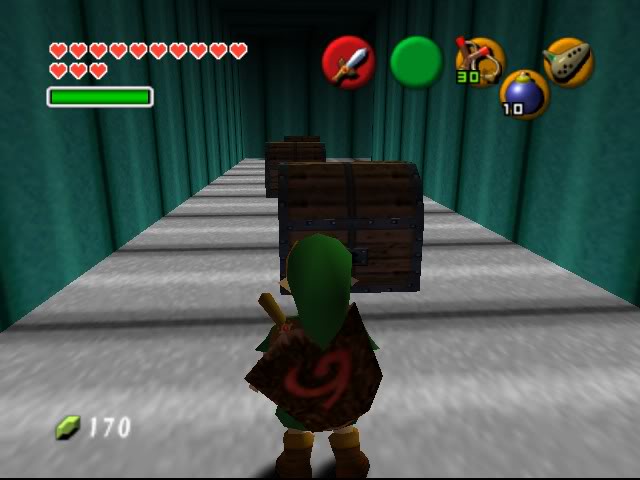
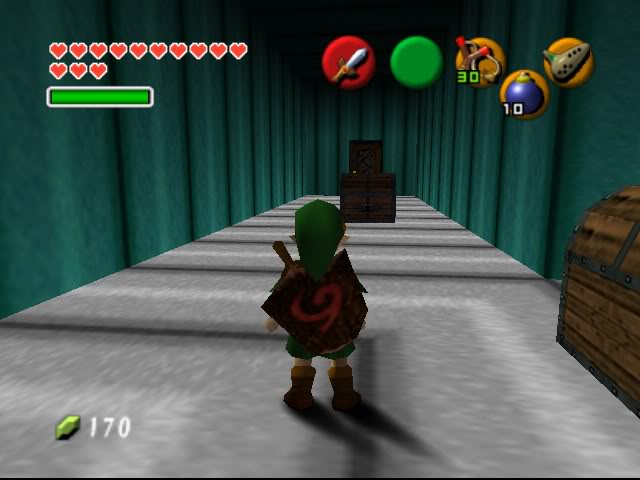
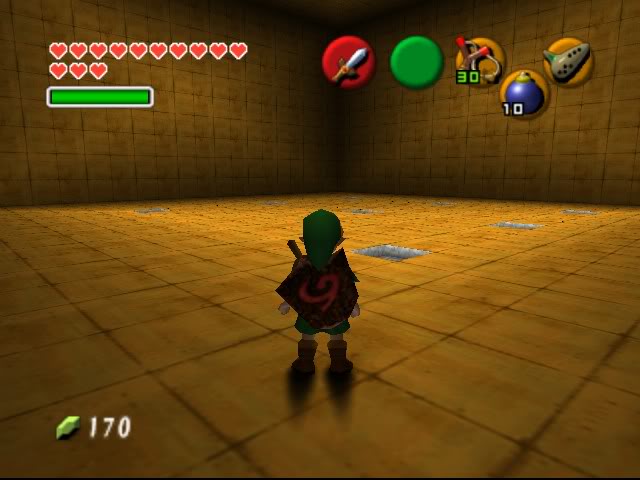
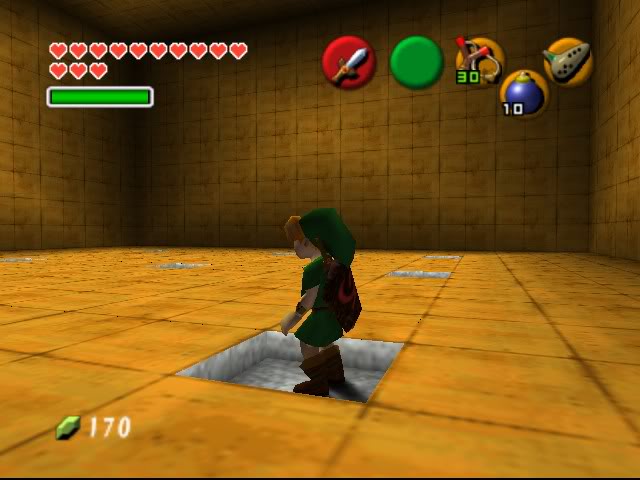
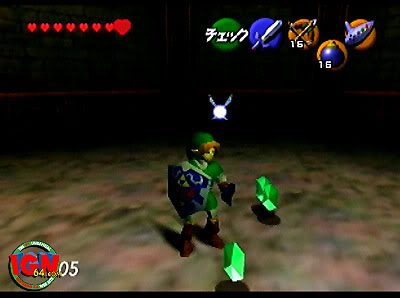
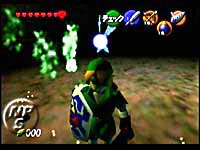
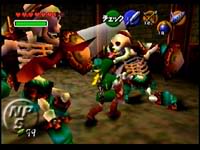
Purpose: Contrary to its name, this appears
to be a small complex of rooms connected with doors that you can walk
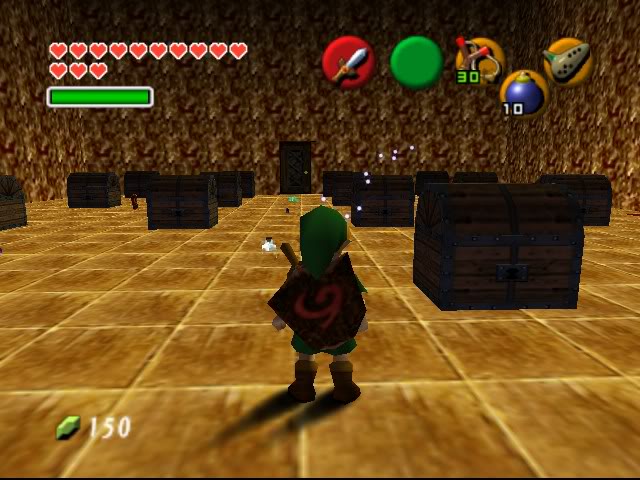
right through. In almost every room is a bunch of treasure boxes
and objects lying around that are, more or less, the things that you
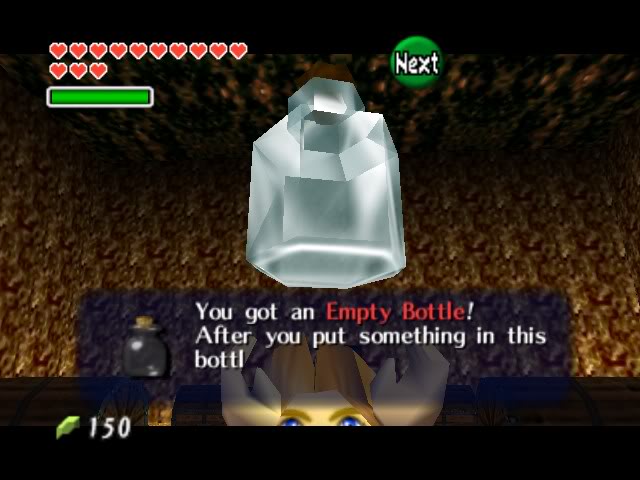
acquire throughout your journey. This includes bottles, heart
pieces, quivers, bomb bags, ocarinas, bombs, bombchus, maps, keys,
rupees, slingshot ammo pouches, wallets, and scales. The final
room is empty, although it looks like it used to have flying tiles in
it.
Features: Nothing particularly unique about this place in terms of what it does.
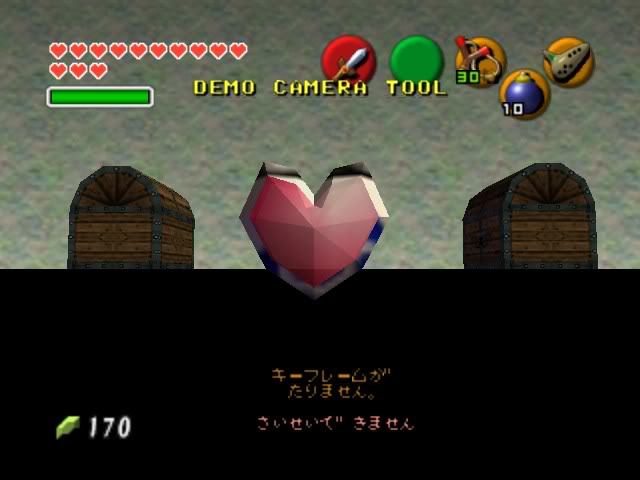
Actors Present: Treasure chests, small key, rupees, quivers,
bows, etc. etc. (Note: an Alpha Heart Container is in the third room,
as shown in the eighth picture.)
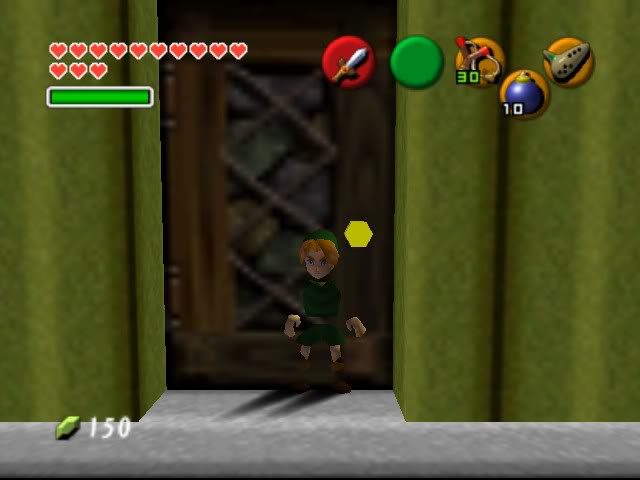
Glitches: You can walk through the doors, for one. Also,
walking through certain doors will lead you to empty black rooms, as
they haven't been loaded into memory yet. There's also a tunnel
in the second room on the right that leads to an empty black
room. We've actually been able to enter it, although the process
is at the moment missing, and it's simply a room with a tall brick wall
and another small tunnel. We don't know much else about it,
though, and there seems to be no way to fix this problem.
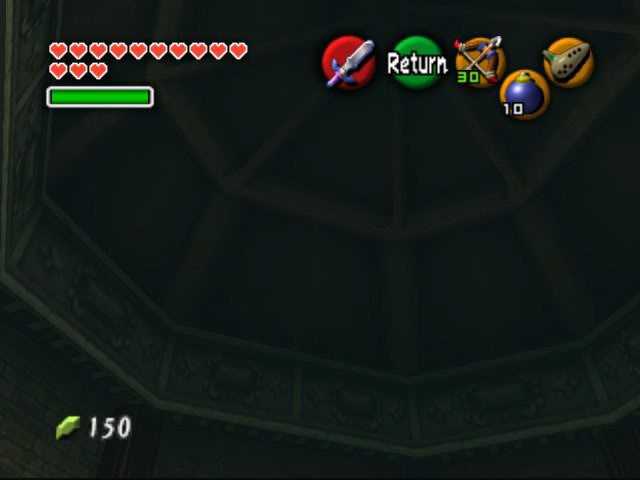
120: ちゅうスタロフォスべや
Middle Stalfos Room


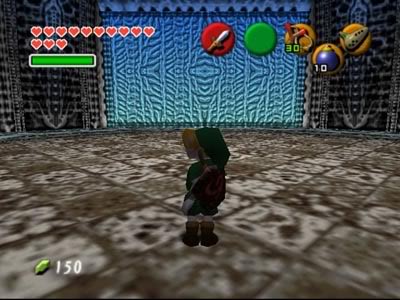
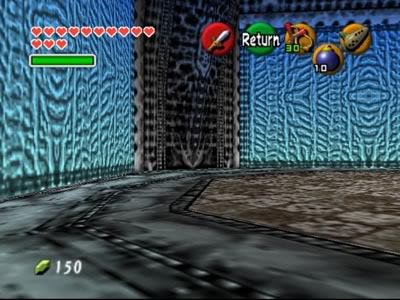
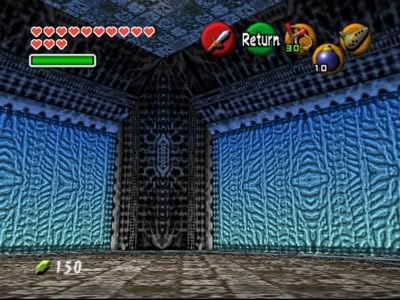
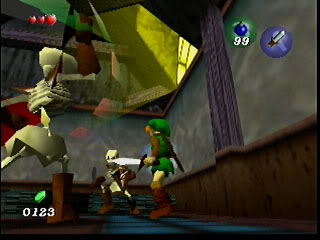
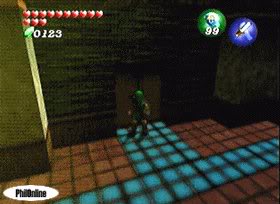
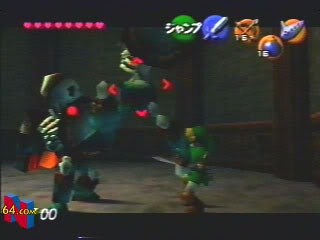
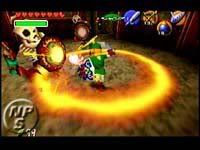
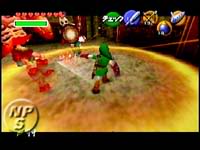
Purpose: It was likely used as a mock-up of
what the game was going to be like. The arena was a large,
imposing decrepit-looking building with an unusual tile-pattern floor,
reminiscient of the old Zelda 1 dungeons. For a very, very long
time, this place was theorized as being part of a remixed Zelda 1
dungeon, but now that we are able to access it, we've determined that
it was completely standalone (though it was likely based on the Zelda 1
dungeon). The detail was actually excellent considering the time
that it was made. You could walk on the rafter boards, and the
windows would let in an ethereal yellow glow (I mistook the window as a
Triforce symbol originally). There is no exit, and the version in
the Debug ROM lacks the Stalfos.
Features: Some of the earliest "lighting" effects ever used are in this level. That's the only real feature, though.
Actors Present: None.
Glitches: The entire level is damaged in the original Debug ROM and must be
patched in order to function.
Level was repaired by our expert hacking team.
121: ボススタロフォスべや
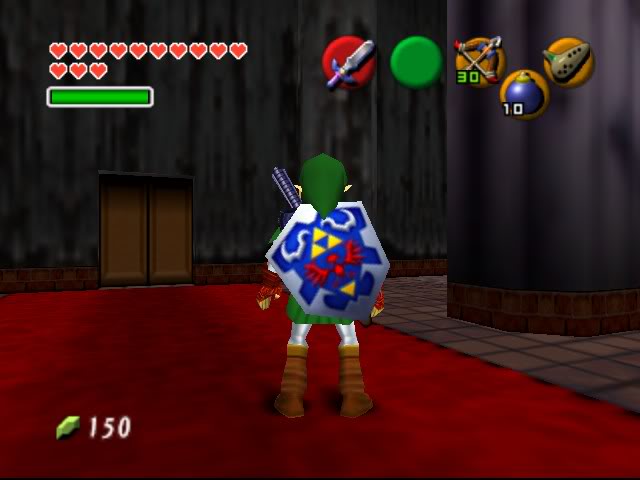
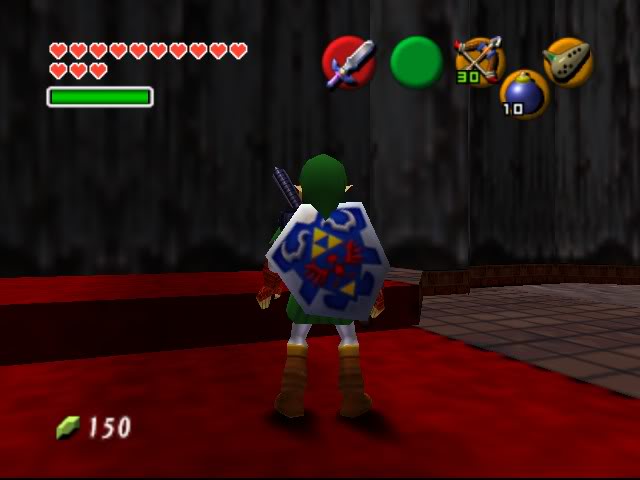
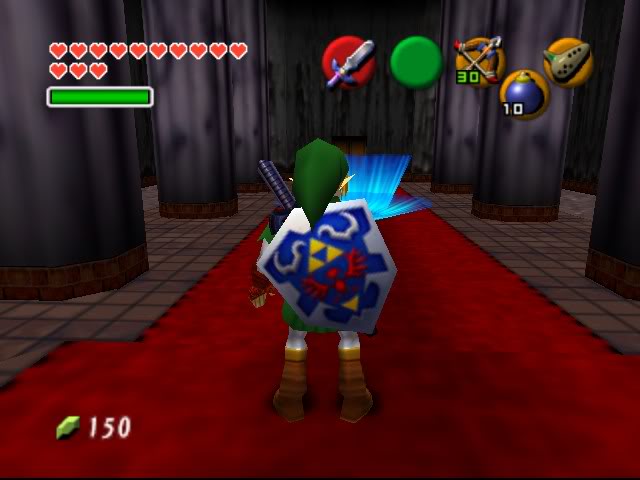
Boss Stalfos Room


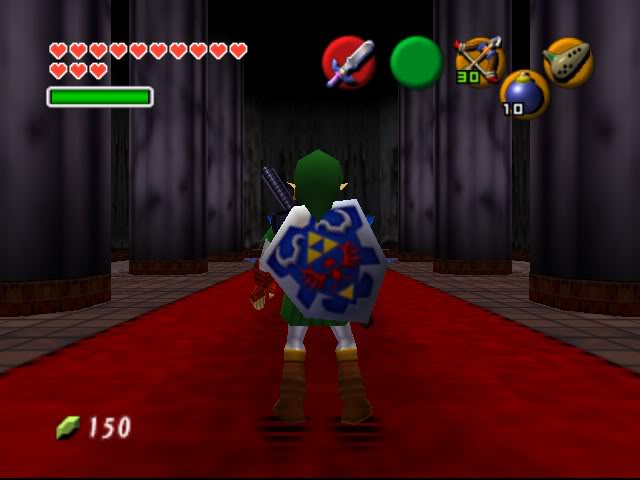
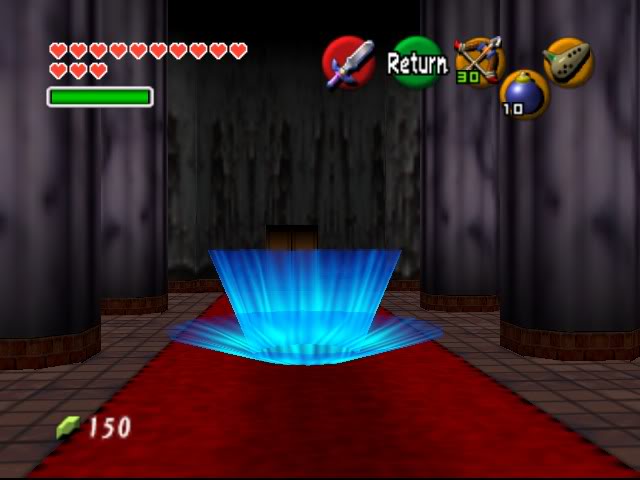
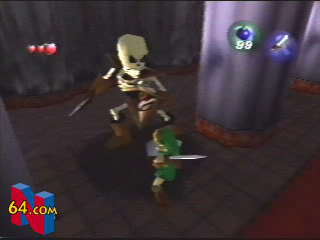
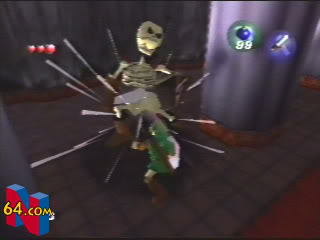
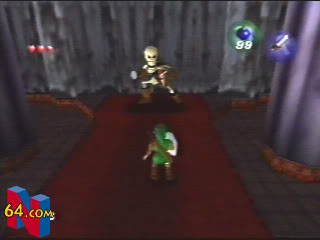
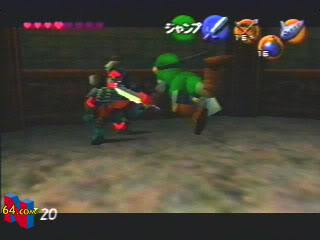
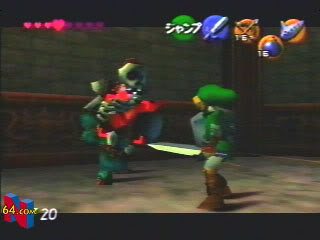
Purpose: Unknown, though it was also likely
meant to be used as a demonstration piece. The layout is well
done and the pillars would also have made it ideal for testing both
collision detection and enemy A.I., since both have a tendency to run
into problems with internal obstacles. It likely was once part of
a small dungeon, though the doors were a fixed part of the environment
(they may never have been functional, for all we know). The
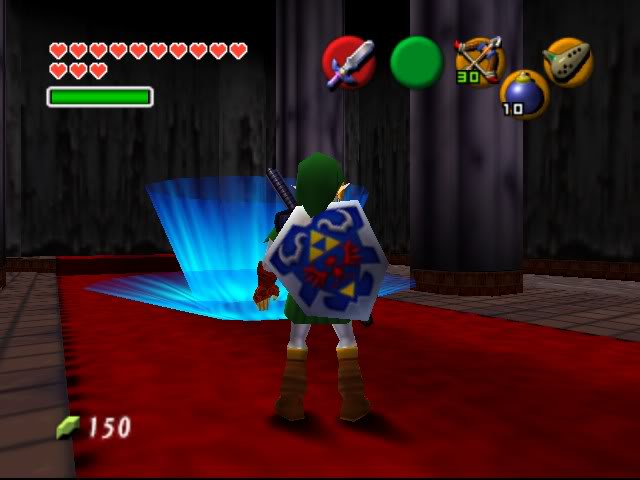
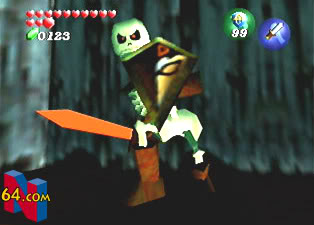
stalfos from the original pictures is sadly not present unless hacked,
but the blue warp halo is. When it works, it brings you to
Zelda's Courtyard usually.
Features: Invulnerable to time, fully functional, perpetual darkness
Actors Present: Warp Portal
Glitches: Impossible to light up without a GameShark code
active, carpet sounds like wet algae-covered stone (carpet sound effect
was probably moved later on).
122: Sutaru
Star or Obsolete or Stalfos


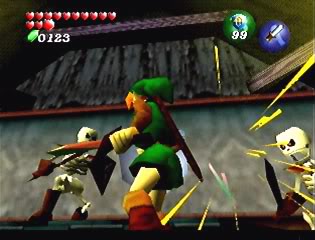
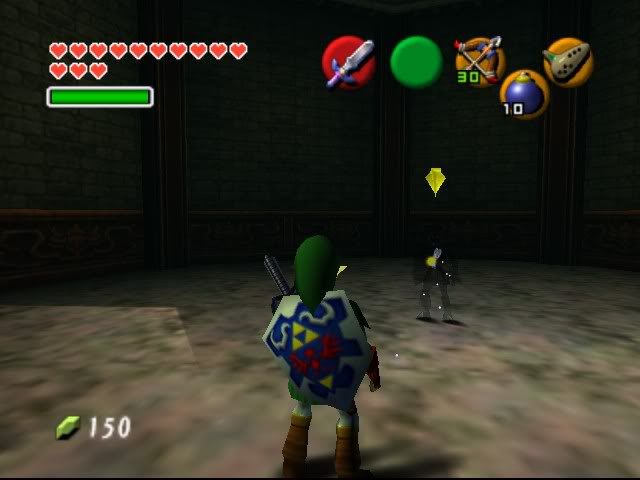
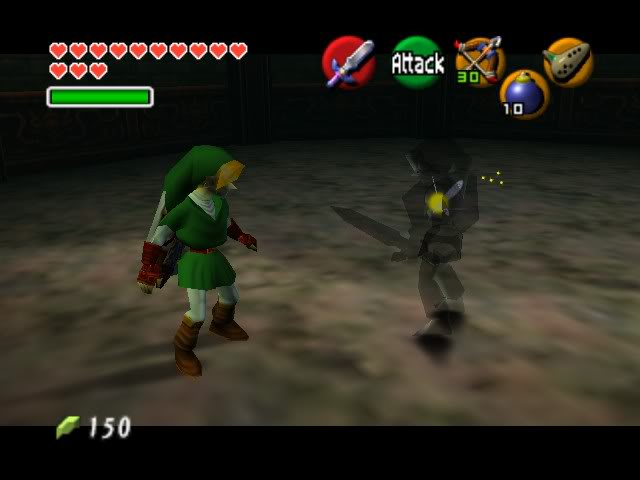
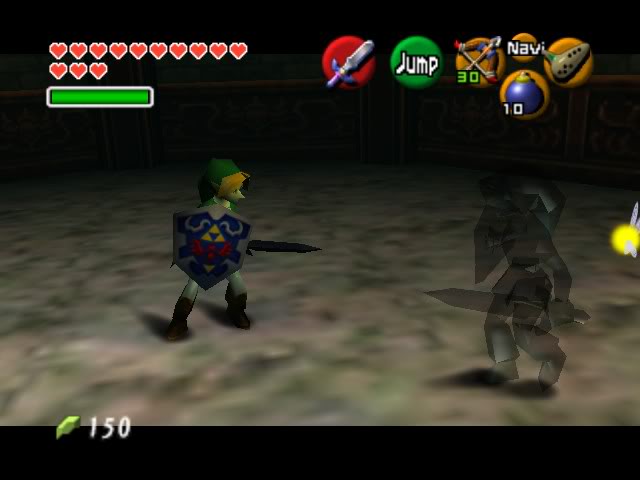
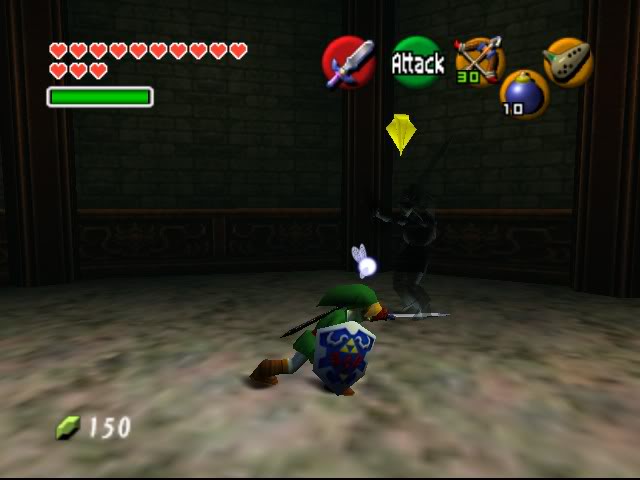
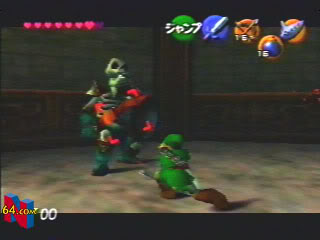
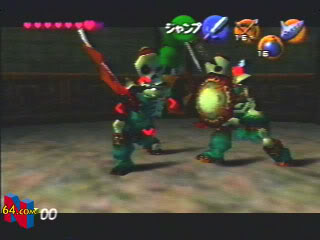
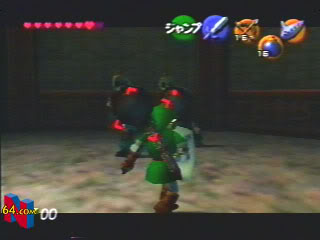
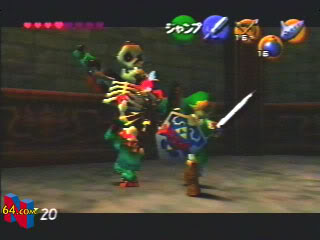
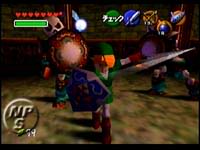
Purpose: It looks like this little room
served as nothing more than a little battle arena, where they could
take new enemies made and test out their A.I. The screenshots
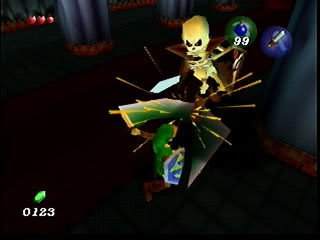
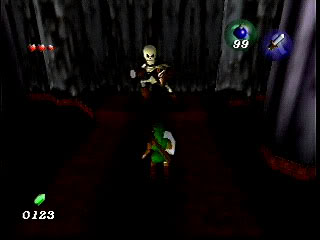
that we have of this place from late 1997 or early 1998 show the two
stalfos that ended up in the finalized version at the Forest Temple
(which, ironically enough, was this level with a level added underneath
and a couple of doors tacked onto both sides). Presumably, Dark
Link was either the last enemy they tested or was placed there for fun.
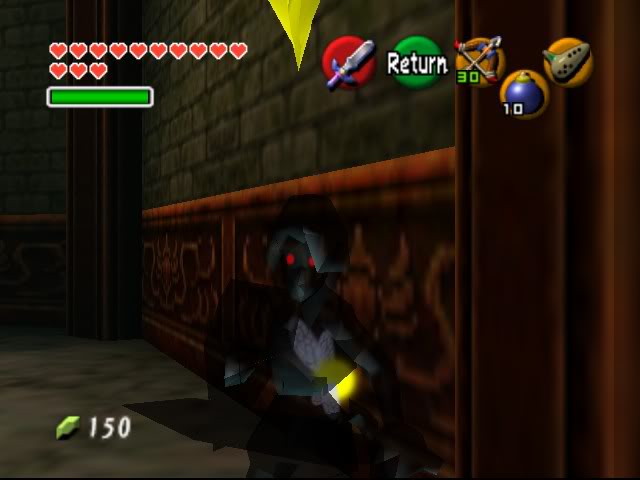
Features: Heavy environmental fog, as is typical for the Forest
Temple (also Dodongo's Cavern). The sixth picture above had to be
adjusted in Photoshop so that you could actually see the ceiling.
Actors Present: Dark Link
Glitches: None.
123: jikkenjyou
Proving Ground
This is apparently just the bow-and-arrow game found in Kakariko Village.
124: depthテスト
Depth Test

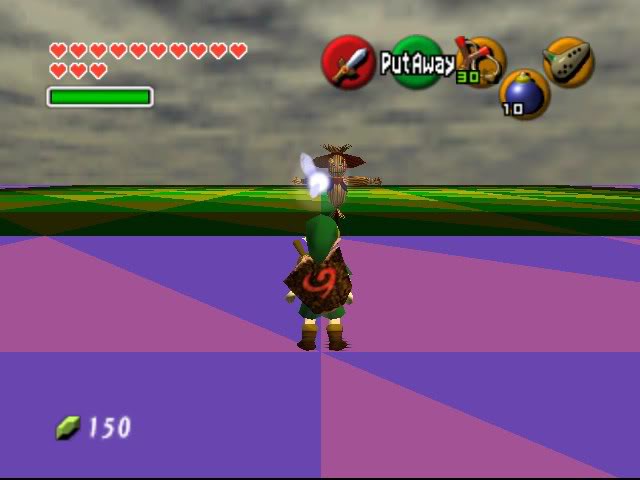
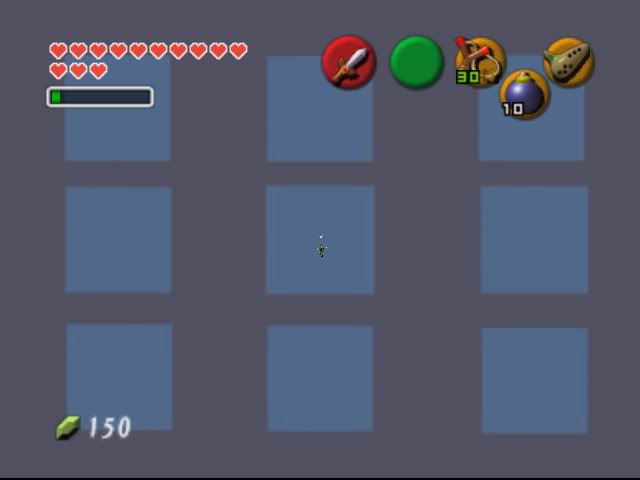
Purpose: The nine boxes is a static image
always facing the camera (just like the store motifs). Most
likely, this was used to test the effectiveness of static backgrounds
in the engine. There's only one problem with this level: there
isn't a floor.
Features: Static background image.
Actors Present: None
Glitches: Well, I don't know if there being no floor is a glitch or not...
125: ハイラルにわゲーム2
Hyrulean Game 2


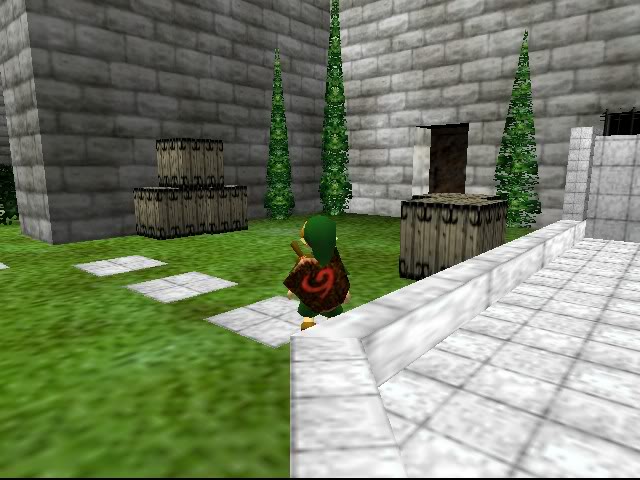
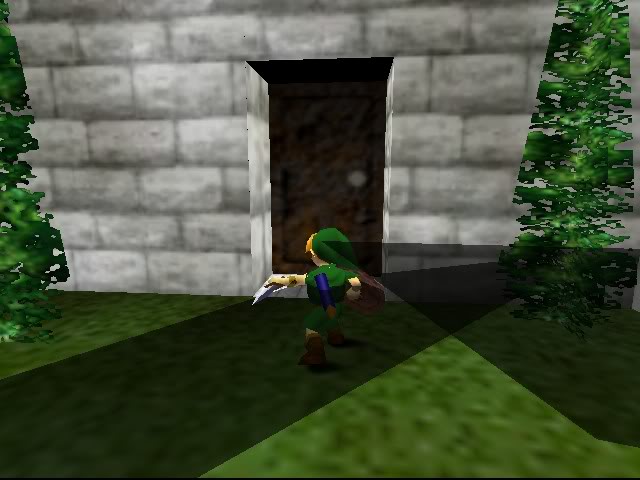
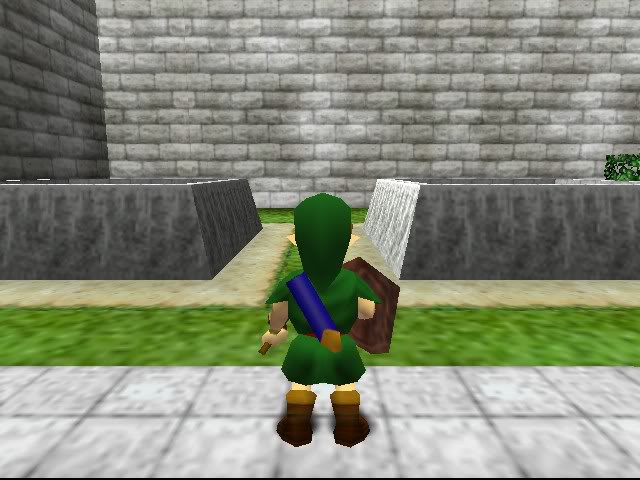
Purpose: I have no idea. This is
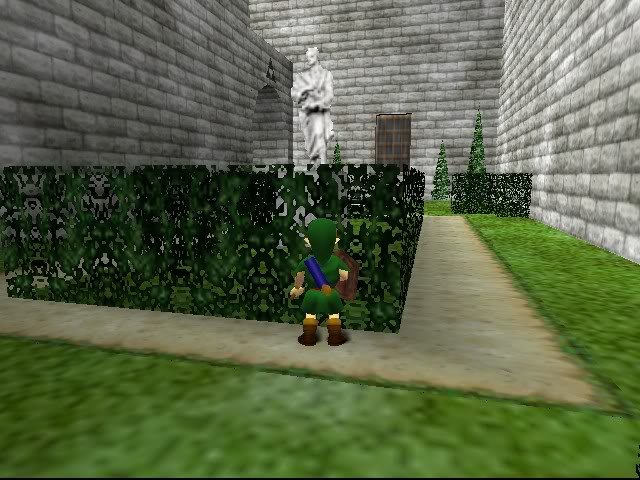
definitely an alternate version of the Hyrule Castle minigame, but it
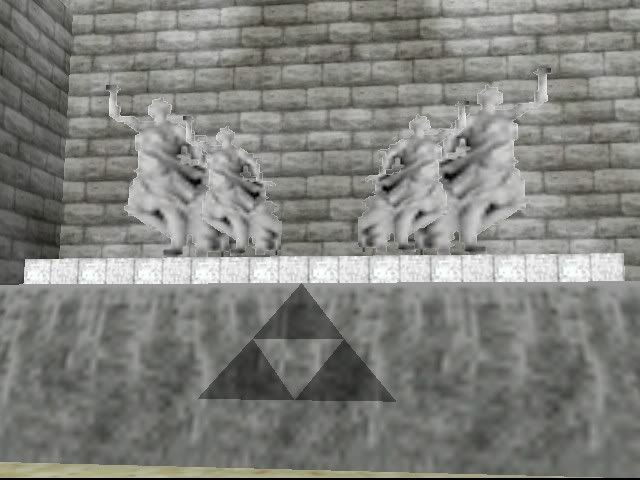
looks practically identical to the original. The only differences
are the boxes in the first "room" (they're usually barrels) and the
triangle at Zelda's Courtyard. The fountains and a couple statues
are missing, as well as the water and guards, but that could be due to
the area glitch.
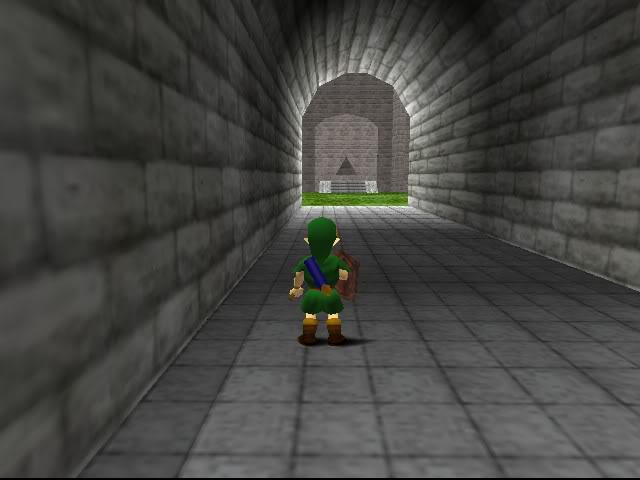
Features: The ability for the camera to follow you instead of remaining at a fixed angle, letting you see things closer-up than usual.
Actors Present: None
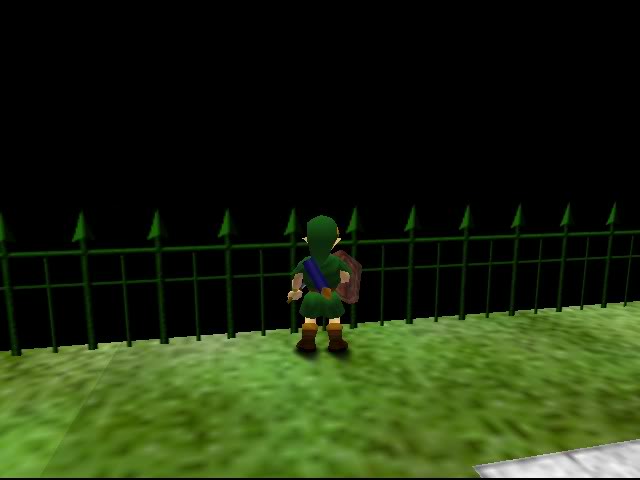
Glitches: There is an object or something that's causing the
level to load improperly, forcing the interface to disappear and make
most of the objects invisible. It's possible that it's trying to
use an area-specific object or a non-existent object, but there's no
way to fix it without further analysis. The area can be partially
patched, but a complete repair has not yet been attempted.
